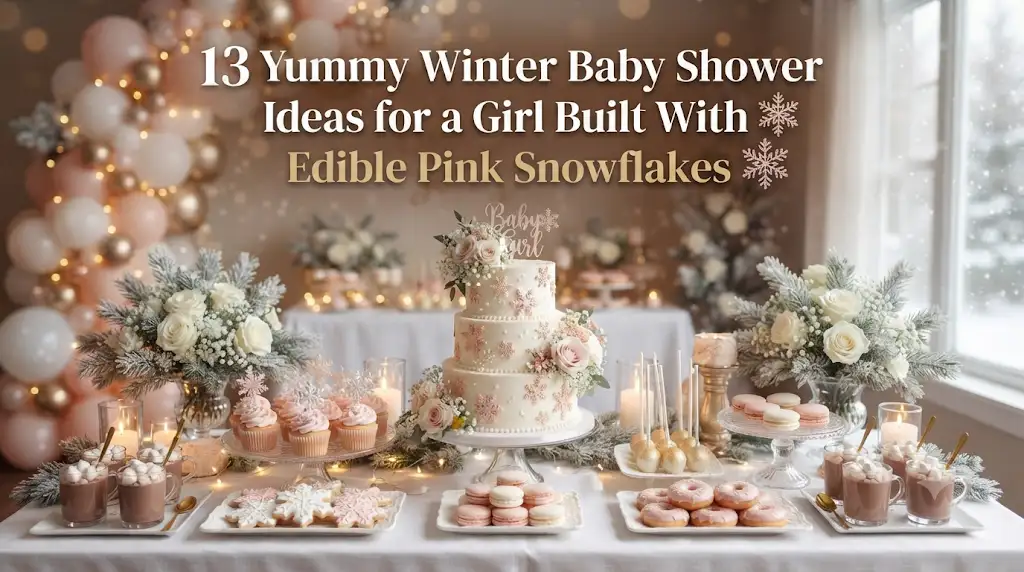
There’s something magical about celebrating a baby girl during the winter months. I love how soft pink decorations pair with snowy whites, cozy treats, and sparkling little details that instantly make everyone feel warm and welcome. One thing I’ve started using more often is edible pink snowflakes. They’re beautiful on desserts, completely safe to eat, and they make even simple party food look professionally decorated without much extra work.
When I planned a winter baby shower for a close friend, I realized that guests remembered the tiny edible details just as much as the larger decorations. Pink snowflakes scattered across cookies, cupcakes, hot chocolate, and cakes tied everything together beautifully. These ideas are easy to personalize, work for different budgets, and can be mixed together to create a sweet celebration that feels festive without becoming overwhelming.
1. Pink Snowflake Dessert Table
The Concept:
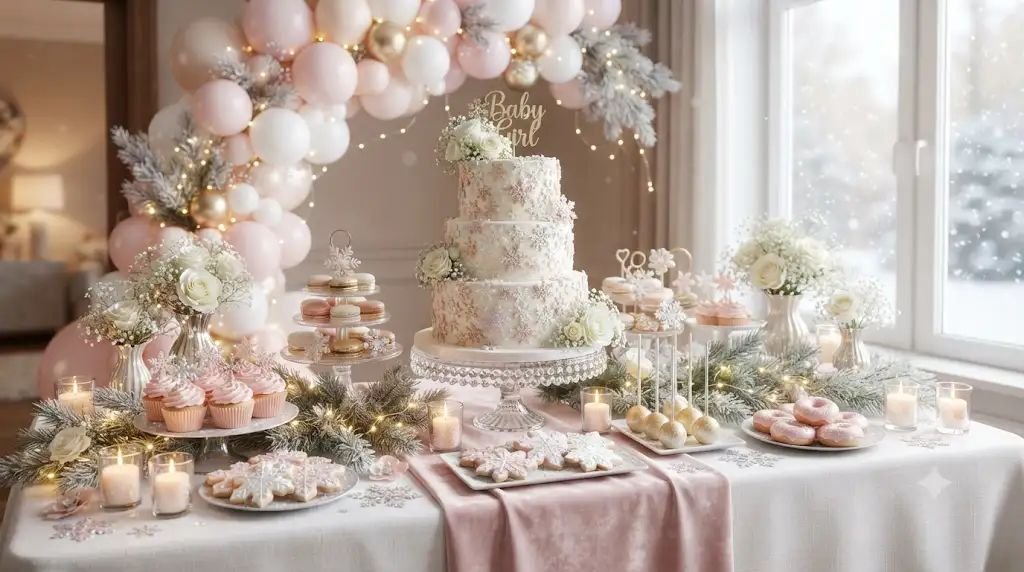
This is always the centerpiece I build first because every other decoration naturally works around it. A dessert table filled with winter treats and edible pink snowflakes instantly gives guests something beautiful to admire before they even grab a plate.
Estimated Budget: $80–$180 (Medium)
Materials Needed:
- White tablecloth
- Pink table runner
- Cake stands of different heights
- White serving trays
- Pink edible snowflakes
- Cupcakes
- Sugar cookies
- Cake pops
- Mini donuts
- Macarons
- Cotton candy
- White flowers
- Fairy lights
- Small LED candles
- Winter-themed party sign
- Pink ribbon
- Dessert labels
How to Set It Up (Step-by-Step):
- Choose the wall that naturally catches attention when guests enter the room. Cover the table with a crisp white tablecloth and layer a blush pink runner down the center.
- Arrange cake stands at different heights before adding any desserts. I always place the tallest stand in the center because it naturally creates balance and makes the display look professionally styled.
- Position the main cake in the middle, leaving enough space around it so guests can take photos without everything looking crowded.
- Fill both sides with cupcakes, cookies, macarons, cake pops, and donuts. Try alternating colors and heights instead of placing similar desserts together.
- Decorate every dessert with edible pink snowflakes. Add one large snowflake to cupcakes, several tiny ones to cookies, and sprinkle small flakes around cake pops for extra detail.
- Tuck fairy lights between serving trays so the lights softly glow underneath the desserts rather than sitting on top of the table.
- Add small flower arrangements, candles, and a few winter ornaments without blocking the food. Keeping decorations low makes serving much easier.
- Scatter a handful of edible pink snowflakes directly across the serving trays for a snowy effect that guests always notice up close.
- Finish with printed dessert labels and a cute “Baby Girl Winter Wonderland” sign behind the table to complete the display.
2. Snowflake Cupcake Decorating Station
The Concept:
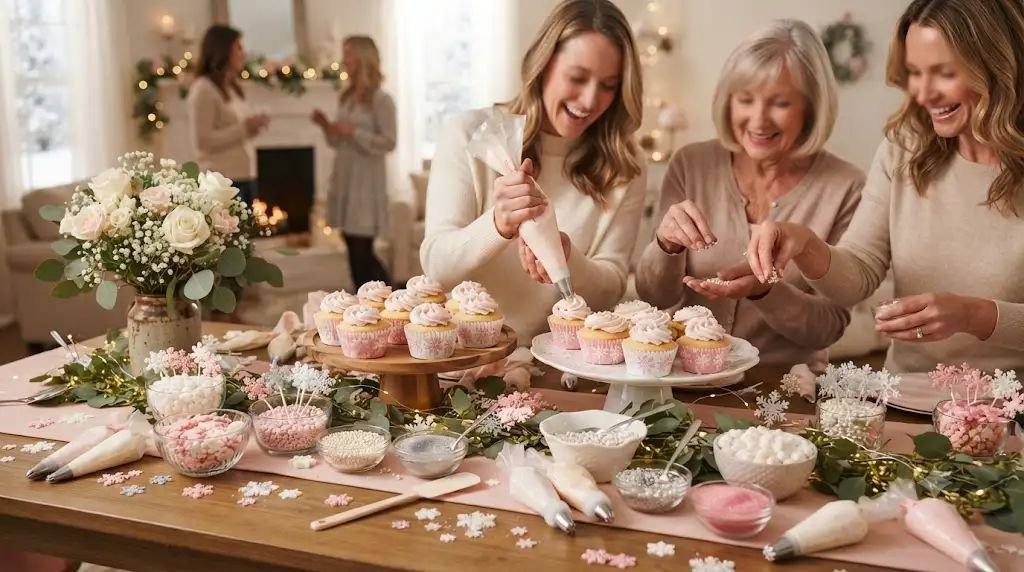
Guests always enjoy decorating something they can immediately eat. I’ve found this activity works surprisingly well because children and adults naturally start chatting while decorating their cupcakes.
Estimated Budget: $40–$85 (Budget-Friendly)
Materials Needed:
- Plain vanilla cupcakes
- Pink buttercream frosting
- Frosting bags
- Edible pink snowflakes
- Pink sprinkles
- White pearl sprinkles
- Small candy pearls
- Disposable gloves
- Decorating knives
- Paper plates
- Napkins
- Small bowls
- Table covering
How to Set It Up (Step-by-Step):
- Cover a long table with disposable paper or plastic so cleanup takes only a few minutes after the party.
- Arrange undecorated cupcakes at one end and place bowls filled with edible decorations across the center.
- Fill piping bags with pink buttercream ahead of time so guests don’t have to struggle with messy frosting containers.
- Give each guest a cupcake, plate, napkin, and decorating knife.
- Encourage everyone to frost their cupcake before adding edible pink snowflakes. The frosting acts like glue and keeps every decoration in place.
- Place pearls, sprinkles, and edible glitter in separate bowls so guests can mix designs instead of everyone using the exact same toppings.
- Once everyone finishes decorating, set aside a small display tray for photos before everyone enjoys their creations.
3. Winter Hot Chocolate Bar with Pink Snowflake Marshmallows
The Concept:
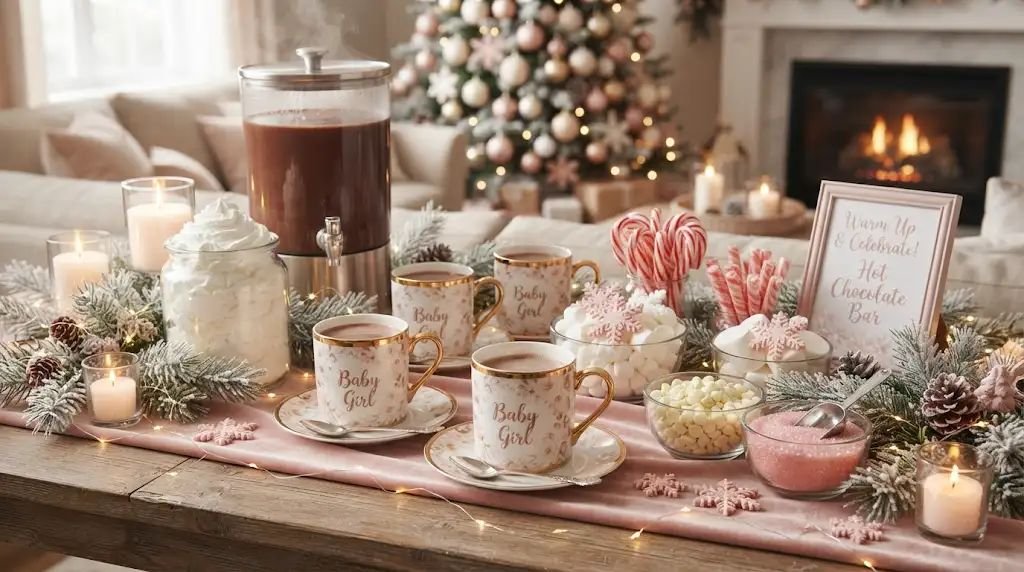
I honestly don’t think a winter baby shower feels complete without hot chocolate. Turning it into a self-serve station makes guests comfortable because they can customize every cup exactly how they like it.
Estimated Budget: $60–$120 (Medium)
Materials Needed:
- Large hot chocolate dispenser
- White mugs
- Pink mugs
- Mini marshmallows
- Whipped cream
- Edible pink snowflakes
- Peppermint sticks
- White chocolate chips
- Pink sugar crystals
- Cinnamon
- Chocolate syrup
- Stir sticks
- Decorative jars
- Small chalkboard labels
How to Set It Up (Step-by-Step):
- Place the hot chocolate dispenser on one end of a sturdy table where guests can comfortably pour drinks without creating traffic.
- Arrange mugs beside the dispenser and organize toppings in clear jars so guests can easily see every option.
- Add marshmallows that have edible pink snowflakes gently attached with a tiny dab of melted white chocolate prepared earlier in the day.
- Keep whipped cream chilled until guests begin arriving so it stays fluffy throughout the event.
- Label every topping with small signs to make the station easy to use without constant explanations.
- Decorate around the jars using fairy lights and miniature winter trees to give the station a cozy café feel.
- Refill toppings throughout the party instead of placing everything out at once. It keeps the display looking fresh from beginning to end.
4. Pink Snowflake Sugar Cookie Decorating Party
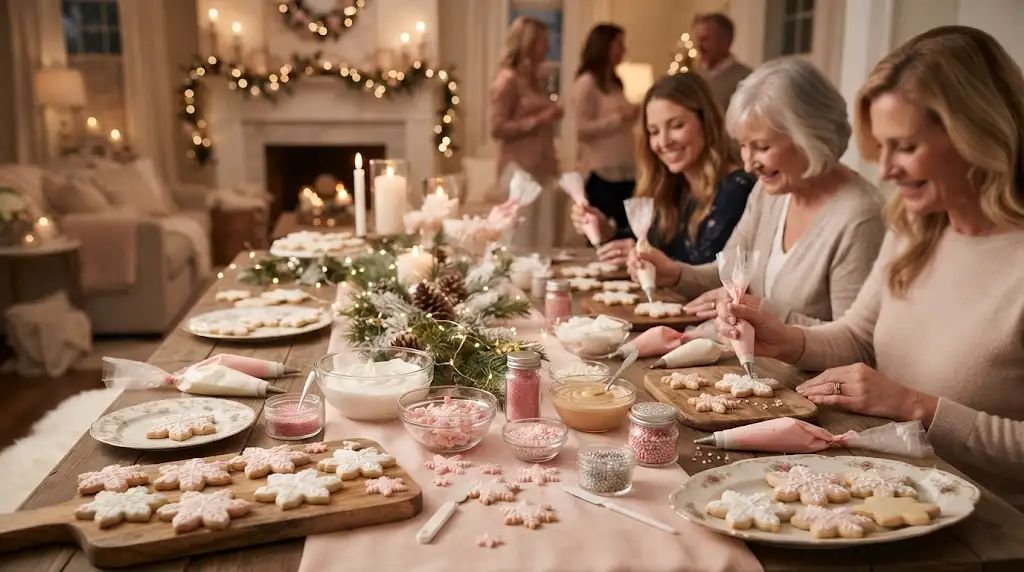
The Concept:
Cookie decorating has become one of my favorite shower activities because guests naturally slow down, laugh together, and leave with edible little keepsakes they decorated themselves.
Estimated Budget: $45–$95 (Budget-Friendly)
Materials Needed:
- Baked snowflake sugar cookies
- Royal icing
- Pink icing
- Decorating bags
- Edible pink snowflakes
- White sanding sugar
- Pink edible glitter
- Cookie boxes
- Wax paper
- Disposable tablecloth
- Aprons
How to Set It Up (Step-by-Step):
- Bake or purchase snowflake-shaped sugar cookies a day before the shower so they’re completely cooled.
- Separate decorating supplies into individual stations to prevent guests from crowding around one area.
- Show one finished cookie as inspiration but encourage everyone to create their own style.
- Let guests spread icing first before adding edible pink snowflakes while the icing is still wet.
- Offer edible glitter and sanding sugar as optional finishing touches for extra sparkle.
- Allow cookies to dry on wax paper for at least 30 minutes before packing them into decorative boxes.
- Tie each cookie box with pink ribbon so guests can take home a sweet party favor.
5. Snowy Pink Cake Centerpiece
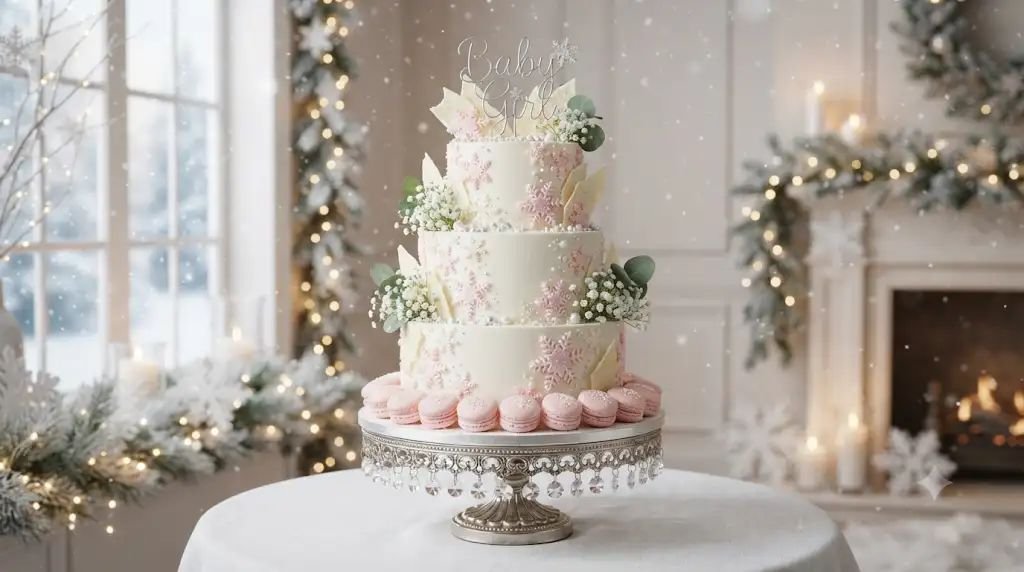
The Concept:
Whenever I want one show-stopping element without spending money on elaborate decorations, I invest in the cake. A beautifully decorated winter cake instantly becomes both dessert and décor.
Estimated Budget: $90–$220 (Medium to High)
Materials Needed:
- Two or three-tier vanilla cake
- White buttercream
- Pink edible snowflakes
- White chocolate shards
- Sugar pearls
- Pink macarons
- Fresh baby’s breath flowers
- Cake stand
- Cake knife
- Fairy lights
How to Set It Up (Step-by-Step):
- Place the cake on a sturdy elevated stand before adding any surrounding decorations.
- Cover the cake with smooth white buttercream to resemble freshly fallen snow.
- Carefully press edible pink snowflakes around each tier, spacing them naturally instead of lining them up perfectly.
- Add white chocolate shards vertically between some snowflakes to create the look of icy winter crystals.
- Decorate the base with pink macarons, sugar pearls, and a few fresh baby’s breath flowers for a soft, elegant finish.
- Wrap battery-operated fairy lights loosely around the cake stand—not the cake itself—to create a gentle glow during photos.
- Keep the cake refrigerated until about 45–60 minutes before serving so the buttercream stays firm while still tasting creamy.
- Wait until after everyone has taken pictures before cutting the cake. In my experience, guests almost always gather around for this moment, making it one of the sweetest memories of the entire shower.
6. Pink Snowflake Cake Pop Bouquet
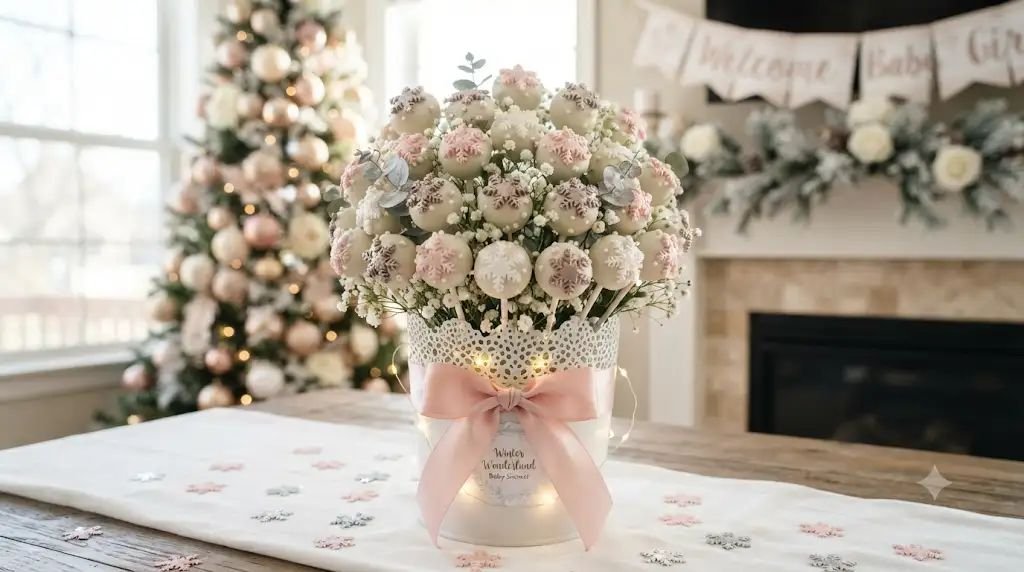
The Concept:
One of my favorite tricks is replacing a traditional flower centerpiece with edible treats. A cake pop bouquet looks beautiful from every angle, doubles as table décor, and gives guests an easy dessert to grab without needing plates or forks.
Estimated Budget: $45–$90 (Budget-Friendly)
Materials Needed:
- 24–36 vanilla or strawberry cake pops
- White candy melts
- Pink candy melts
- Edible pink snowflakes
- White pearl sprinkles
- Cake pop sticks
- Floral foam block
- Decorative white bucket or flower pot
- Pink tissue paper
- Pink satin ribbon
- Cellophane (optional for gifting)
How to Set It Up (Step-by-Step):
- Dip each cake pop in white candy melts and let the coating set for about a minute before decorating. This gives the surface enough grip for the edible decorations.
- Place one edible pink snowflake on the front of every cake pop. If you’d like extra sparkle, add a few pearl sprinkles around the snowflake while the coating is still soft.
- Fill a decorative bucket with floral foam and cover the foam completely using layers of pink tissue paper so none of it is visible.
- Insert the cake pops at different heights to create a rounded bouquet instead of a flat arrangement. I usually keep the tallest ones in the center and gradually lower the height toward the edges.
- Tie a wide pink satin ribbon around the bucket to make it feel more like a floral arrangement.
- Place the bouquet near the entrance or beside the dessert table where guests can admire it before helping themselves.
- Refill empty spaces with fresh cake pops during the party if guests begin taking them early. The bouquet stays full and attractive until the celebration ends.
7. Winter Wonderland Donut Wall
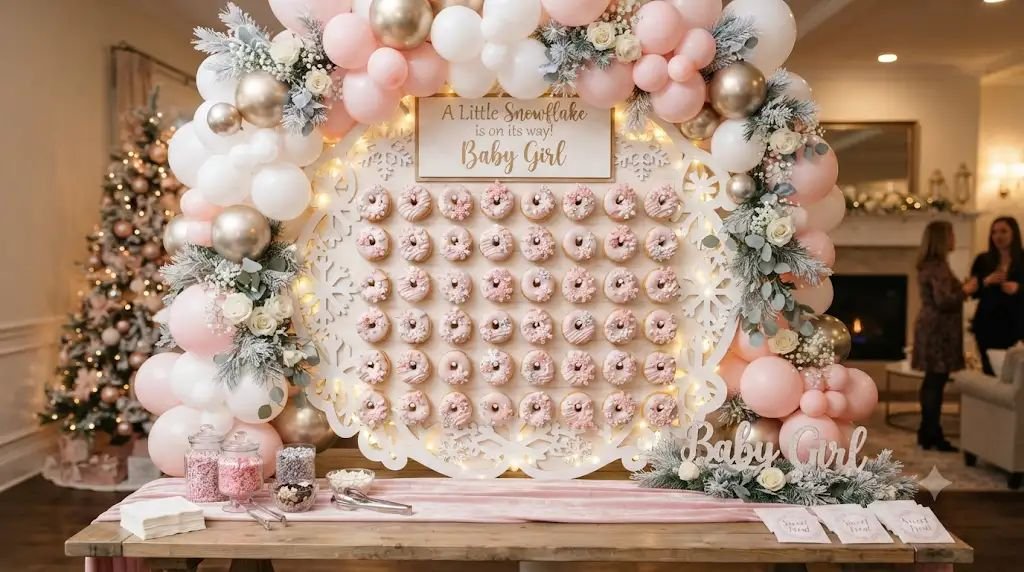
The Concept:
A donut wall is always one of the first things guests photograph. Adding edible pink snowflakes turns simple glazed donuts into winter-themed treats that look much more expensive than they actually are.
Estimated Budget: $50–$110 (Medium)
Materials Needed:
- Donut wall stand
- 24–48 glazed donuts
- White icing
- Pink icing drizzle
- Edible pink snowflakes
- White sanding sugar
- Mini decorative snowflakes
- Fairy lights
- Printed party sign
How to Set It Up (Step-by-Step):
- Decorate each donut before placing it on the wall. Drizzle pink icing across the top, then gently press an edible pink snowflake into the center.
- Sprinkle a little white sanding sugar over the icing to create the look of freshly fallen snow.
- Assemble the donut wall according to the manufacturer’s instructions and make sure it sits securely on a flat table.
- Arrange donuts evenly across the board, mixing plain and decorated designs for a balanced display.
- Wrap fairy lights loosely around the frame, making sure they don’t interfere with guests removing donuts.
- Add a small sign above the display with a fun message like “Snow Sweet Treats” or “Grab a Snowflake Donut.”
- Keep several extra decorated donuts in the kitchen so the display can be refilled throughout the party without leaving empty pegs.
8. DIY Pink Snowflake Candy Buffet
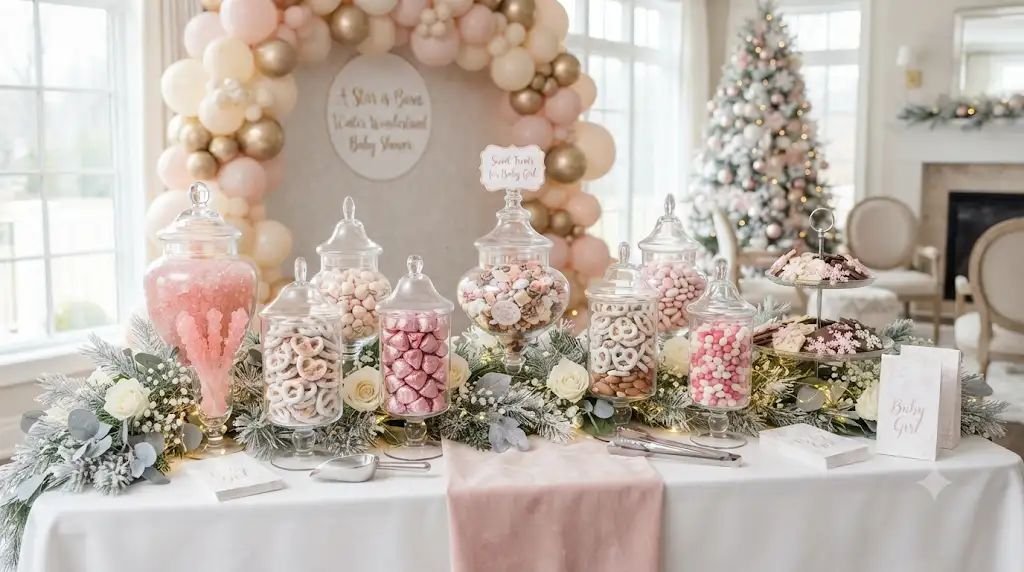
The Concept:
I’ve noticed guests enjoy candy buffets just as much as children do. The colorful jars become part of the décor, and everyone loves filling a small bag with their favorite sweets before heading home.
Estimated Budget: $70–$150 (Medium)
Materials Needed:
- Clear candy jars
- Pink candy
- White chocolate-covered pretzels
- Strawberry chocolates
- Yogurt-covered raisins
- Pink gummy candies
- White rock candy sticks
- Edible pink snowflakes
- Candy scoops
- Favor bags
- Ribbon
- Labels
- White tablecloth
How to Set It Up (Step-by-Step):
- Cover the buffet table with a clean white tablecloth and place jars of different heights across the back of the table.
- Fill each jar almost to the top. Full jars always look more inviting than half-filled ones.
- Decorate chocolate-covered treats with edible pink snowflakes before placing them inside the jars.
- Keep colors consistent by choosing mostly white, blush pink, and soft rose candies. This creates a polished display instead of looking random.
- Set scoops inside each jar so guests can easily fill their bags.
- Place favor bags at the beginning of the table and tie a small ribbon around each one ahead of time.
- Label every candy so guests with allergies or dietary preferences know exactly what they’re choosing.
- Refill jars quietly during the event so the display stays neat and abundant from start to finish.
9. Pink Snowflake Milkshake Station
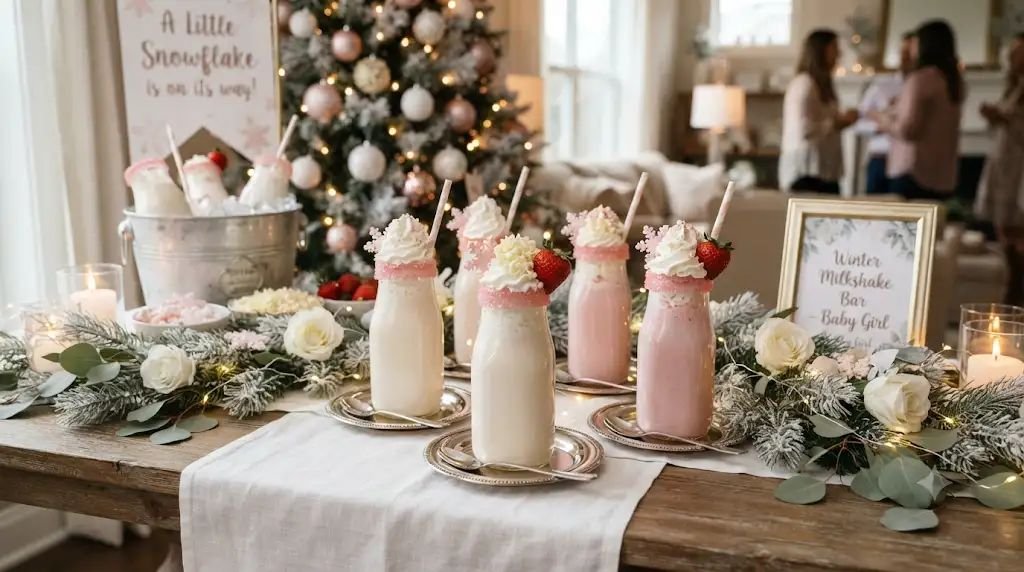
The Concept:
If the shower includes children or teenagers, this station becomes an instant favorite. Even adults usually can’t resist a thick vanilla milkshake topped with whipped cream and edible winter decorations.
Estimated Budget: $60–$130 (Medium)
Materials Needed:
- Vanilla ice cream
- Strawberry ice cream
- Whole milk
- Blender
- Whipped cream
- Pink edible snowflakes
- Pink sugar crystals
- White chocolate curls
- Paper straws
- Clear milkshake glasses
- Fresh strawberries
- Mini marshmallows
How to Set It Up (Step-by-Step):
- Blend vanilla and strawberry milkshakes in small batches so every glass stays cold and creamy.
- Rim each serving glass with melted white chocolate before dipping it into pink sugar crystals.
- Pour the milkshake carefully into each glass, leaving enough room for toppings.
- Add a generous swirl of whipped cream followed by white chocolate curls and mini marshmallows.
- Finish each milkshake with one or two edible pink snowflakes placed gently on top of the whipped cream.
- Add a paper straw and a fresh strawberry on the rim for an extra pop of color.
- Serve immediately. In my experience, milkshakes are always at their best within the first few minutes after they’re made.
10. Snowflake Cookie Favor Boxes
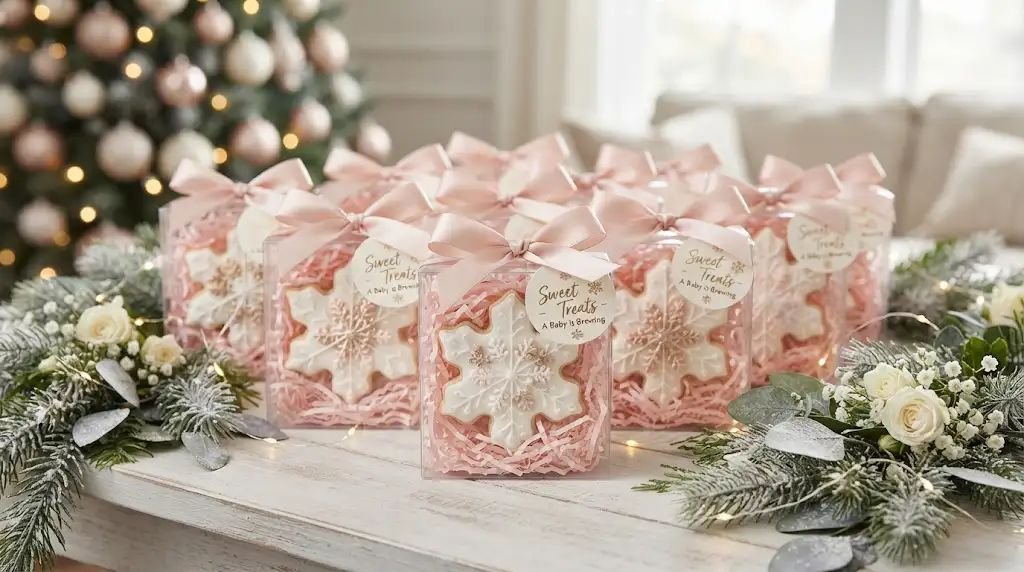
The Concept:
I love favors that guests can actually enjoy instead of storing in a drawer. Beautifully packaged snowflake cookies feel thoughtful, useful, and continue the party theme all the way home.
Estimated Budget: $35–$80 (Budget-Friendly)
Materials Needed:
- Snowflake sugar cookies
- White royal icing
- Edible pink snowflakes
- Pink edible glitter
- Clear favor boxes
- Pink shredded paper
- Satin ribbon
- Personalized thank-you tags
- Cellophane bags
- Double-sided tape
How to Set It Up (Step-by-Step):
- Decorate each cookie with white royal icing and allow it to dry completely before adding packaging.
- Place an edible pink snowflake in the center of every cookie and lightly dust with pink edible glitter for a frosty finish.
- Line each favor box with a small amount of pink shredded paper to cushion the cookies during transport.
- Slip each cookie into a clear cellophane bag before placing it inside the box. This keeps the icing looking fresh and prevents crumbs from collecting in the packaging.
- Close each box securely with double-sided tape if needed, then wrap it with a wide satin ribbon.
- Attach a personalized thank-you tag with a sweet message such as, “Thank you for celebrating our little snowflake.”
- Arrange the finished favor boxes near the exit or beside the gift table so guests remember to take one as they leave.
Read More
- 11 Tasty Hydrangea Baby Shower Ideas Featuring Stunning Piped Cupcakes
- 13 Edible Baby Shower Ideas for Boys Gifts Mom Will Actually Eat
11. Pink Snowflake Hot Cocoa Bomb Gift Station
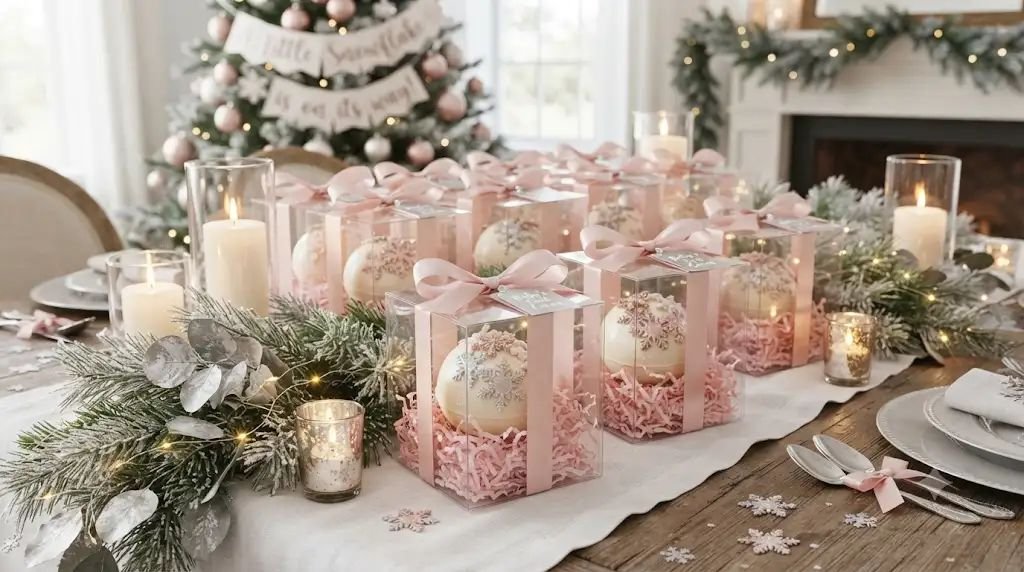
The Concept:
This idea became one of my favorite additions after a friend took home a hot cocoa bomb and messaged me later saying it reminded her of the shower. I love favors that continue the celebration after everyone gets home, and these are both pretty and practical.
Estimated Budget: $50–$110 (Medium)
Materials Needed:
- Hot cocoa bombs (homemade or store-bought)
- Edible pink snowflakes
- Melted white chocolate
- Mini marshmallows
- White chocolate drizzle
- Clear gift boxes
- Pink crinkle paper
- Satin ribbon
- Printable gift tags
- Small display stand or tray
- Battery-operated fairy lights
How to Set It Up (Step-by-Step):
- If you’re decorating plain cocoa bombs, lightly drizzle melted white chocolate over each one and immediately place one edible pink snowflake on top before the chocolate hardens.
- Let every cocoa bomb set completely on parchment paper. I usually give them at least 20–30 minutes so the decorations stay firmly attached.
- Line each gift box with pink crinkle paper to keep the cocoa bomb from rolling around during transport.
- Carefully place one cocoa bomb into each box and close the lid securely.
- Tie a soft pink satin ribbon around every box and attach a tag that says something like, “Warm wishes for sweet memories.”
- Arrange the finished gift boxes on a tiered tray or decorative cake stand near the entrance or favor table.
- Weave fairy lights around the display for a cozy winter glow. It catches people’s attention without overpowering the rest of the decorations.
- If you’d like, include a small printed instruction card explaining how to make the perfect mug of hot chocolate. Guests always appreciate the extra touch.
12. Pink Snowflake Ice Cream Sundae Bar
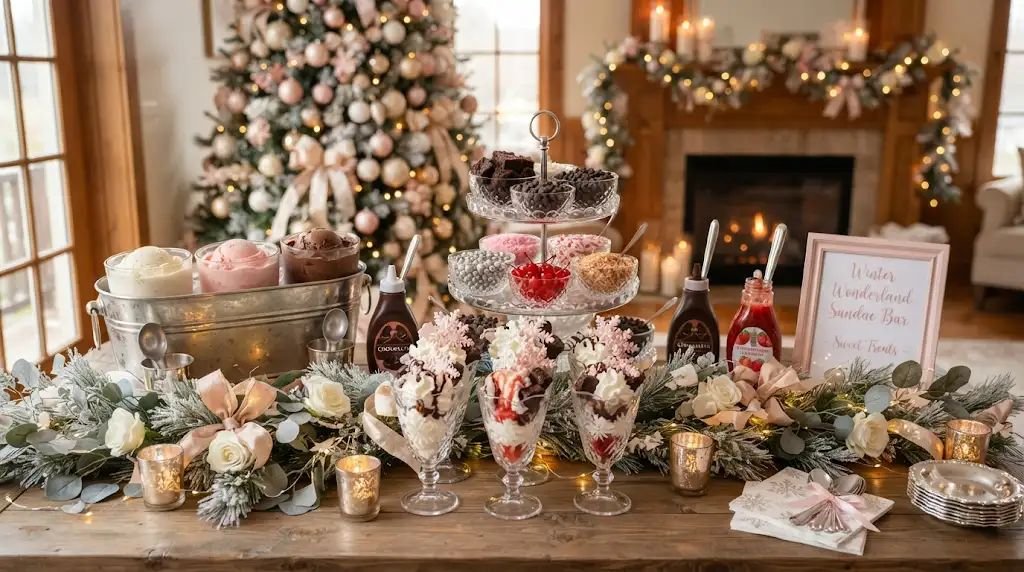
The Concept:
Not everyone expects ice cream at a winter party, and that’s exactly why it’s such a fun surprise. Warm brownies paired with cold ice cream create one of my favorite dessert combinations, and edible pink snowflakes make every sundae feel party-worthy.
Estimated Budget: $70–$150 (Medium)
Materials Needed:
- Vanilla ice cream
- Strawberry ice cream
- Chocolate ice cream
- Brownie bites
- Whipped cream
- Edible pink snowflakes
- Pink sprinkles
- White chocolate chips
- Strawberry sauce
- Chocolate sauce
- Chopped strawberries
- Maraschino cherries
- Serving bowls
- Ice cream scoops
- Small topping bowls
- Cooler or ice bucket
How to Set It Up (Step-by-Step):
- Keep the ice cream in insulated coolers until just before serving so it stays firm instead of melting too quickly.
- Arrange toppings in separate bowls across the table, placing sauces first, followed by sprinkles, fruit, chocolates, and edible decorations.
- Place brownie bites beside the ice cream so guests can build warm-and-cold dessert combinations.
- Scoop the ice cream into bowls or allow guests to serve themselves if someone is available to monitor the station.
- Encourage everyone to finish their sundae with whipped cream before adding edible pink snowflakes. They sit beautifully on top without sinking.
- Scatter a few decorative snowflakes and winter greenery around the serving bowls to tie the station into the rest of the shower theme.
- Refill toppings in small amounts instead of placing everything out at once. It keeps the station looking fresh and prevents ingredients from becoming messy.
- Keep napkins and extra spoons within easy reach. This little detail makes the station much easier for guests to enjoy without creating long lines.
13. Winter Pink Snowflake Celebration Cake Cutting Display
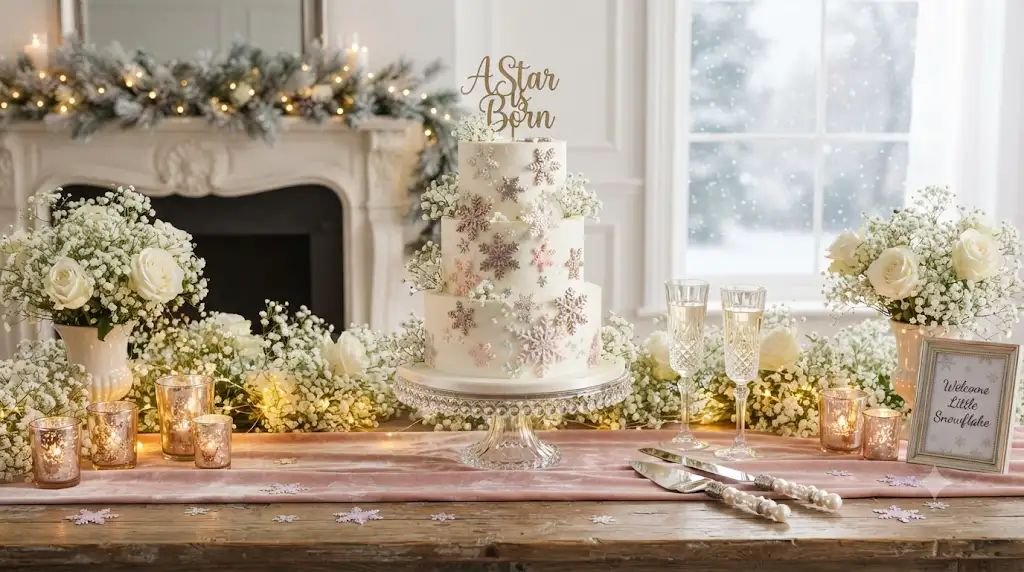
The Concept:
I always think the cake-cutting moment deserves its own little stage. It becomes one of the biggest photo opportunities of the day, and a thoughtfully decorated display helps those pictures look even more memorable.
Estimated Budget: $40–$90 (Budget-Friendly)
Materials Needed:
- Cake table
- White linen tablecloth
- Pink table runner
- Decorative cake knife and server
- Edible pink snowflakes
- Fresh baby’s breath flowers
- LED candles
- Fairy lights
- Personalized cake topper
- Small framed baby shower sign
- Champagne flutes or sparkling juice glasses
- Confetti poppers (optional)
How to Set It Up (Step-by-Step):
- Position the cake table where everyone can comfortably gather around without blocking walkways or the dessert table.
- Cover the table with white linen and add a blush pink runner down the center to create a soft winter color palette.
- Place the cake in the middle of the table with the personalized topper facing the main seating area for photographs.
- Decorate the table using baby’s breath, LED candles, and fairy lights placed around—not underneath—the cake stand for a gentle glow.
- Scatter a few edible pink snowflakes around the serving plates and dessert trays to continue the snowy theme in a subtle way.
- Arrange the cake knife, server, and glasses neatly on one side so everything is ready before guests gather.
- Invite everyone to come closer before cutting the cake. I always pause for a minute or two because someone inevitably wants “just one more picture.”
- After the cake is cut, have a helper begin serving slices while another person clears used plates. This keeps the line moving smoothly and lets the parents-to-be enjoy conversations instead of worrying about serving dessert.
A winter baby shower already feels cozy, but adding edible pink snowflakes brings an extra layer of sweetness that guests genuinely remember. I love how they turn everyday desserts into something that looks elegant without requiring professional decorating skills. Whether you’re planning a small family gathering or a larger celebration, these little details help create a party that feels thoughtful from the first welcome drink to the final favor box.
The best part is that you don’t have to use every single idea. I usually mix a few larger displays with a couple of simple DIY stations, and that creates a celebration that feels beautiful without becoming stressful. At the end of the day, everyone is there to celebrate a precious baby girl, share good food, laugh together, and make memories that will be talked about long after the last pink snowflake has disappeared.