
Watching your baby pick up food for the very first time is one of those moments that stays with you forever. I still remember placing a soft piece of avocado on the highchair tray and wondering if it would actually make it into my baby’s mouth. There were plenty of squishes, a few puzzled faces, and lots of food on the floor, but those tiny first tastes were all part of the adventure. That’s why I love keeping those early Baby-Led Weaning (BLW) meals simple, soft, and easy for little hands to hold.
Most babies are ready to begin Baby-Led Weaning around 6 months of age, provided they can sit with minimal support, have good head control, and show an interest in food. At this stage, the goal isn’t to eat large amounts but to explore new textures, flavors, and the joy of self-feeding. Soft foods that squash easily between your fingers are usually the safest starting point. As always, introduce common allergens thoughtfully, serve foods in safe BLW-friendly shapes, and stay with your baby throughout every meal.
1. Creamy Avocado & Banana Spears
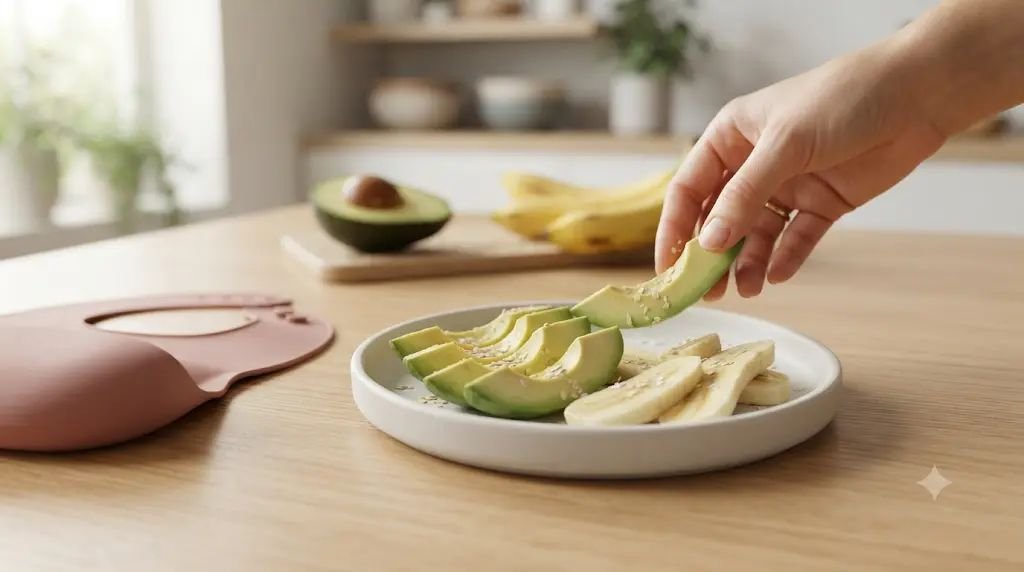
This was one of the very first foods I served during Baby-Led Weaning because it couldn’t be much easier. The creamy avocado and naturally sweet banana create a soft texture that’s gentle for beginners while still being easy for tiny hands to grip. It’s perfect for babies around 6 months who are just starting to practice self-feeding, and I love making it because there’s no cooking involved.
Health Benefits
Avocados provide healthy fats that support growing brains, along with fiber, potassium, and vitamin E. Bananas add natural carbohydrates for energy, vitamin B6, and more fiber, making this combination both filling and gentle on little tummies.
Ingredients
- 1 ripe avocado
- 1 ripe but firm banana
- 1 teaspoon finely ground baby oatmeal (optional, for grip)
Step-by-Step Recipe
- Wash the banana and avocado before preparing them.
- Slice the avocado in half, remove the pit, and carefully peel away the skin.
- Cut the avocado into thick finger-sized spears that are long enough for your baby to hold with part of the food sticking out of their fist.
- Peel the banana and cut it in half. Slice each half lengthwise into thick strips instead of small rounds.
- If the avocado or banana feels slippery, lightly roll one side in finely ground baby oatmeal. I do this often because it makes self-feeding much less frustrating.
- Place the pieces directly onto your baby’s tray and allow them to explore at their own pace. Any leftovers that become heavily squished or handled should be discarded.
BLW Serving Tips
- Serve thick finger-length pieces instead of bite-sized chunks.
- Offer one or two spears of each fruit at a time.
- Pair with plain full-fat yogurt or soft scrambled egg if your baby has already tried those foods.
- A silicone bib with a catch pocket helps save plenty of dropped pieces.
Storage Tips
- Avocado tastes best fresh but can be refrigerated with plastic wrap pressed tightly against the surface for up to 1 day.
- Banana is best prepared just before serving since it browns quickly.
- This recipe is not ideal for freezing.
2. Sweet Potato BLW Wedges
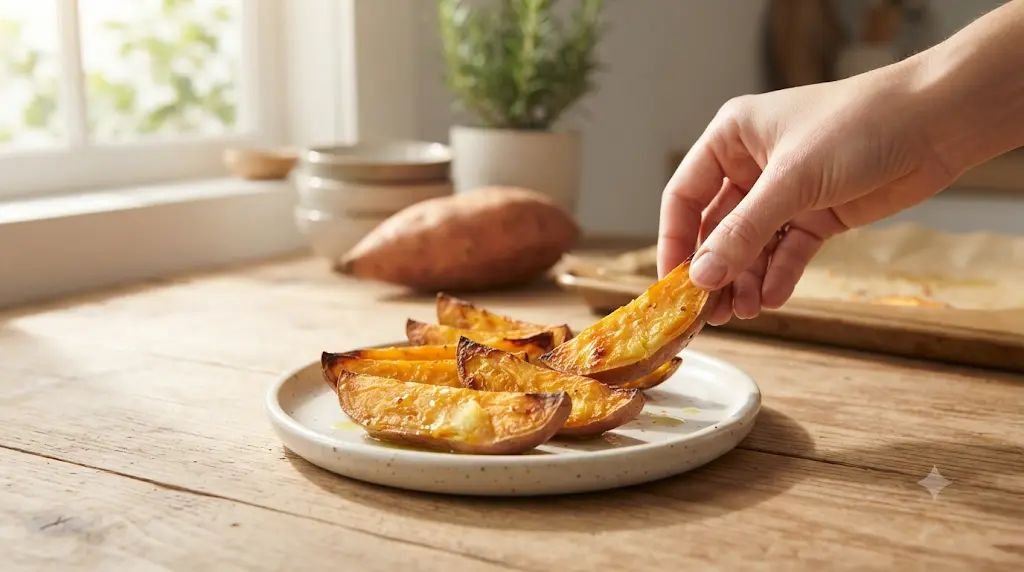
Soft roasted sweet potato quickly became one of my freezer favorites. The outside stays just firm enough to pick up while the inside becomes buttery soft, making it perfect for little gums that are still learning how to mash food.
Health Benefits
Sweet potatoes are rich in vitamin A for healthy eyesight and immune support. They also provide fiber, vitamin C, potassium, and slow-release carbohydrates that help keep little ones satisfied.
Ingredients
- 1 medium sweet potato
- 1 teaspoon olive oil
- Optional pinch of cinnamon (after your baby has already tried sweet potato)
Step-by-Step Recipe
- Preheat the oven to 400°F (200°C).
- Wash and scrub the sweet potato well. I usually leave the skin on because it helps the wedges stay together during baking.
- Slice the potato into thick wedges about two adult fingers wide.
- Toss the wedges gently with olive oil until lightly coated.
- Arrange them in a single layer on a parchment-lined baking tray.
- Roast for about 25–35 minutes, turning halfway through, until the wedges are very soft when pressed with a fork.
- Allow them to cool completely before serving. You should easily be able to squash each wedge between your fingers.
- If the skin seems tough after baking, simply peel it away before offering the wedges.
BLW Serving Tips
- Offer one or two wedges at a time.
- Larger wedges are much easier for beginners to grip.
- Pair with mashed avocado, hummus (if introduced), or plain Greek yogurt for extra variety.
- Expect lots of orange hands and happy smiles.
Storage Tips
- Refrigerate for up to 3 days.
- Freeze in a single layer, then transfer to a freezer bag for up to 2 months.
- Reheat gently in the microwave or oven until warm, then cool before serving.
3. Fluffy Spinach Egg Strips
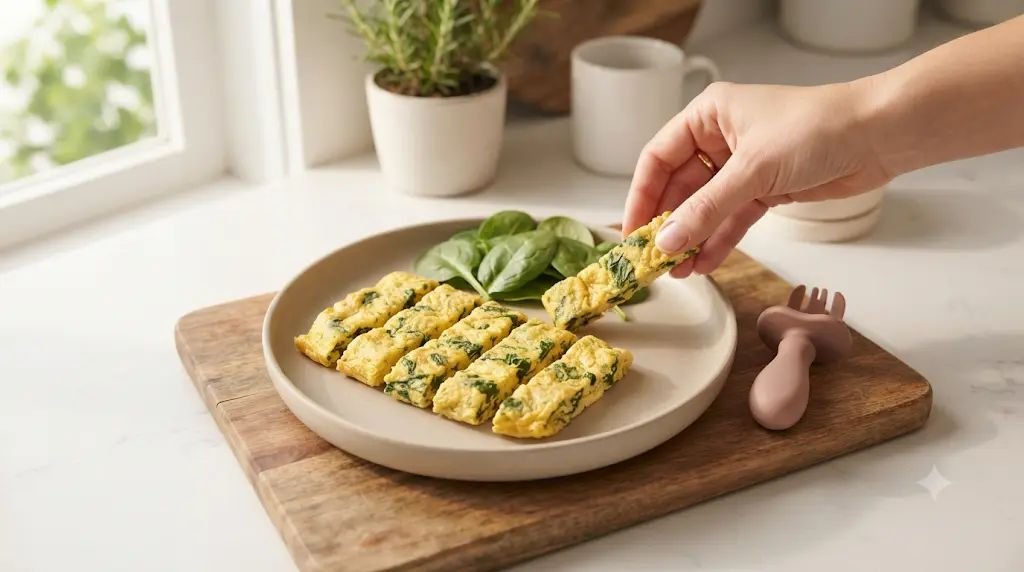
Eggs were one of my favorite early protein foods because they’re quick to prepare and surprisingly easy for babies to hold when cut into strips. Adding spinach brings a little color and extra nutrition without changing the soft texture.
Health Benefits
Eggs supply protein, healthy fats, choline, vitamin D, and several B vitamins that support growth and brain development. Spinach contributes iron, folate, vitamin K, and vitamin C.
Ingredients
- 2 large eggs
- 2 tablespoons finely chopped fresh spinach
- 1 teaspoon unsalted butter or olive oil
Step-by-Step Recipe
- Wash the spinach thoroughly and chop it very finely.
- Crack the eggs into a bowl and whisk until smooth.
- Stir the chopped spinach evenly into the eggs.
- Heat a nonstick skillet over low heat and melt the butter or warm the olive oil.
- Pour in the egg mixture and cook slowly, gently lifting the edges as it sets. Cooking over low heat keeps the eggs tender instead of rubbery.
- When fully cooked, transfer to a plate and allow it to cool for several minutes.
- Slice into finger-width strips that are easy for little hands to grasp.
BLW Serving Tips
- Serve warm or at room temperature.
- Pair with avocado slices or roasted vegetables.
- Offer water in an open cup or straw cup during meals if your pediatrician recommends it.
- If eggs are new for your baby, serve them on their own the first time so you can watch for any reactions.
Storage Tips
- Refrigerate for up to 2 days.
- Reheat gently until just warm.
- Freezing isn’t recommended because the texture becomes rubbery.
4. Soft Broccoli & Cheese Mini Patties
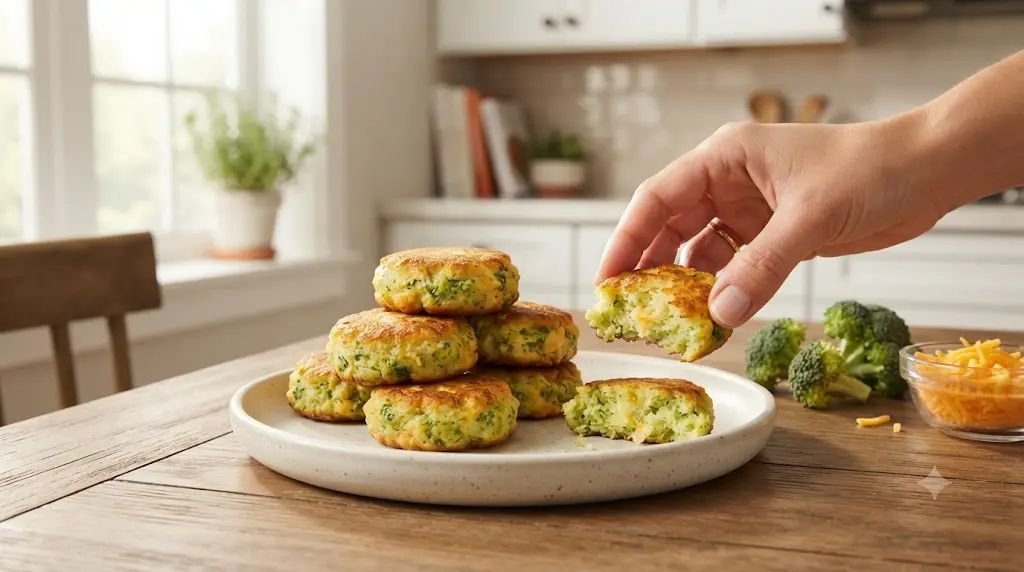
Whenever I had leftover steamed broccoli, these little patties were my favorite way to use it. They’re soft in the middle, easy to hold, and a wonderful option once your baby has already been introduced to dairy.
Health Benefits
Broccoli provides fiber, vitamin C, vitamin K, and folate. Cheese adds calcium, protein, and healthy fats that support growing bones and teeth.
Ingredients
- 1 cup steamed broccoli florets
- ½ cup finely shredded mild cheddar cheese
- 1 egg
- 3 tablespoons oat flour
- 1 teaspoon olive oil for cooking
Step-by-Step Recipe
- Steam the broccoli until it’s extremely soft, about 8–10 minutes.
- Allow it to cool slightly, then chop it into very small pieces.
- Combine the broccoli, cheese, egg, and oat flour in a bowl until a soft mixture forms.
- If the mixture feels too wet, sprinkle in another tablespoon of oat flour.
- Shape into small oval patties about the size of your palm.
- Heat olive oil in a nonstick skillet over medium-low heat.
- Cook each patty for about 3–4 minutes per side until lightly golden and fully cooked inside.
- Cool completely before serving. The patties should feel soft enough to break apart easily with gentle finger pressure.
BLW Serving Tips
- Serve one patty whole for younger babies instead of cutting it into tiny pieces.
- Pair with mashed sweet potato, avocado, or soft roasted carrots.
- These also work well for family meals because older siblings usually enjoy them too.
Storage Tips
- Refrigerate in an airtight container for up to 3 days.
- Freeze with parchment paper between each patty for up to 2 months.
- Reheat in a skillet, oven, or microwave until warmed through, then allow to cool before serving.
5. Soft Oatmeal Banana Pancake Fingers
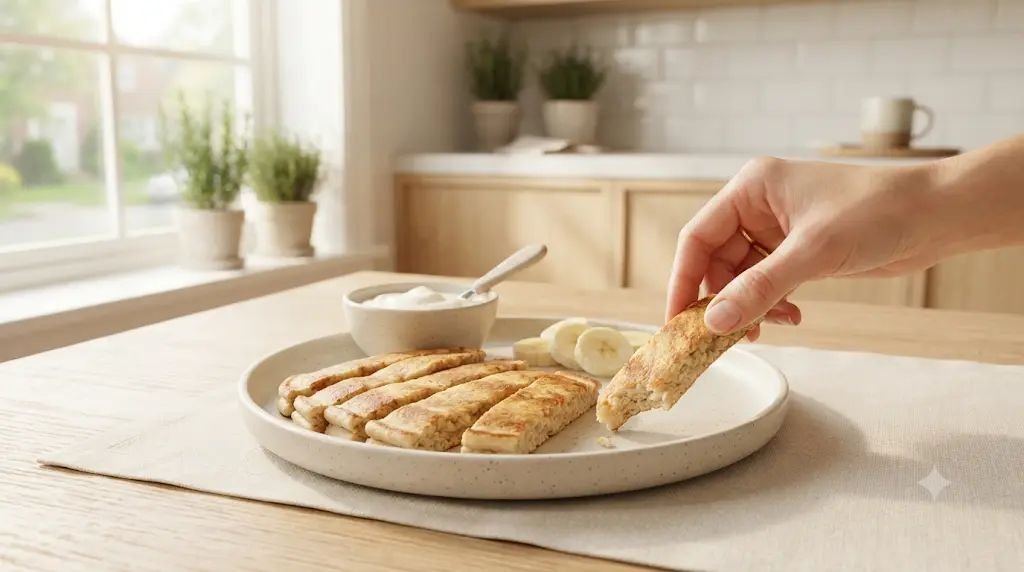
These little pancake fingers became one of my favorite make-ahead breakfasts once Baby-Led Weaning was underway. They’re naturally soft, easy to grip, and don’t crumble into lots of tiny pieces. I usually keep a batch in the freezer because busy mornings seem to arrive faster once you have a baby.
Health Benefits
Oats provide fiber that supports healthy digestion, while bananas add potassium, vitamin B6, and natural sweetness. Eggs contribute protein and healthy fats, making these pancakes a balanced option that keeps little tummies satisfied.
Ingredients
- 1 ripe banana
- 1 large egg
- ½ cup rolled oats
- ¼ teaspoon ground cinnamon (optional, after cinnamon has been introduced)
- 1 teaspoon unsalted butter or a little olive oil for the pan
Step-by-Step Recipe
- Add the rolled oats to a blender and pulse until they become a fine oat flour. This creates a smoother pancake that’s easier for young babies to manage.
- Mash the banana thoroughly in a mixing bowl until almost no lumps remain.
- Whisk the egg into the banana, then stir in the oat flour and optional cinnamon until you have a thick batter.
- Let the batter rest for about 5 minutes so the oats can absorb some moisture.
- Heat a nonstick skillet over low to medium-low heat and lightly grease it with butter or olive oil.
- Spoon the batter into small oval pancakes rather than large circles. Smaller pancakes cook more evenly and are easier to slice later.
- Cook for about 2–3 minutes per side until lightly golden and fully cooked through.
- Transfer the pancakes to a cooling rack and let them cool completely before cutting each one into finger-width strips.
BLW Serving Tips
- Serve two or three pancake fingers at a time.
- Pair with plain Greek yogurt, mashed berries, or a thin layer of mashed avocado.
- If the pancakes seem slightly dry, spread a little plain yogurt on top before serving.
Storage Tips
- Refrigerate for up to 3 days.
- Freeze in a single layer before transferring to a freezer bag for up to 2 months.
- Reheat gently in the microwave or toaster oven until warm, then cool before serving.
6. Tender Salmon & Sweet Potato Cakes

These soft little cakes quickly became one of my favorite ways to introduce fish. The sweet potato keeps everything moist, while the salmon flakes apart beautifully for babies who are still learning how to chew with their gums.
Health Benefits
Salmon is packed with protein and omega-3 fatty acids that support brain and eye development. Sweet potatoes contribute vitamin A, fiber, potassium, and natural sweetness that balances the flavor of the fish.
Ingredients
- 4 ounces cooked salmon, skin and bones removed
- ½ cup mashed cooked sweet potato
- 1 egg yolk
- 2 tablespoons oat flour
- 1 teaspoon olive oil
Step-by-Step Recipe
- Cook the salmon by baking or steaming until it flakes easily with a fork. Carefully remove every visible bone and all skin.
- Mash the sweet potato until completely smooth.
- Flake the salmon into very small pieces using your fingers or a fork, checking again for tiny bones.
- Combine the salmon, sweet potato, egg yolk, and oat flour in a bowl until evenly mixed.
- Shape the mixture into small oval cakes about the length of two adult fingers.
- Heat olive oil in a nonstick skillet over medium-low heat.
- Cook each cake for about 3–4 minutes on each side until lightly golden and heated through.
- Cool thoroughly before serving. The cakes should break apart very easily when gently pressed.
BLW Serving Tips
- Offer one cake at a time to prevent overwhelming your baby.
- Pair with steamed broccoli florets or soft avocado slices.
- Watch your baby closely while they explore the flaky texture.
Storage Tips
- Refrigerate for up to 2 days.
- Freeze cooked cakes for up to 2 months.
- Reheat until warm throughout, then cool before serving.
7. Butternut Squash & Red Lentil Mash Fingers
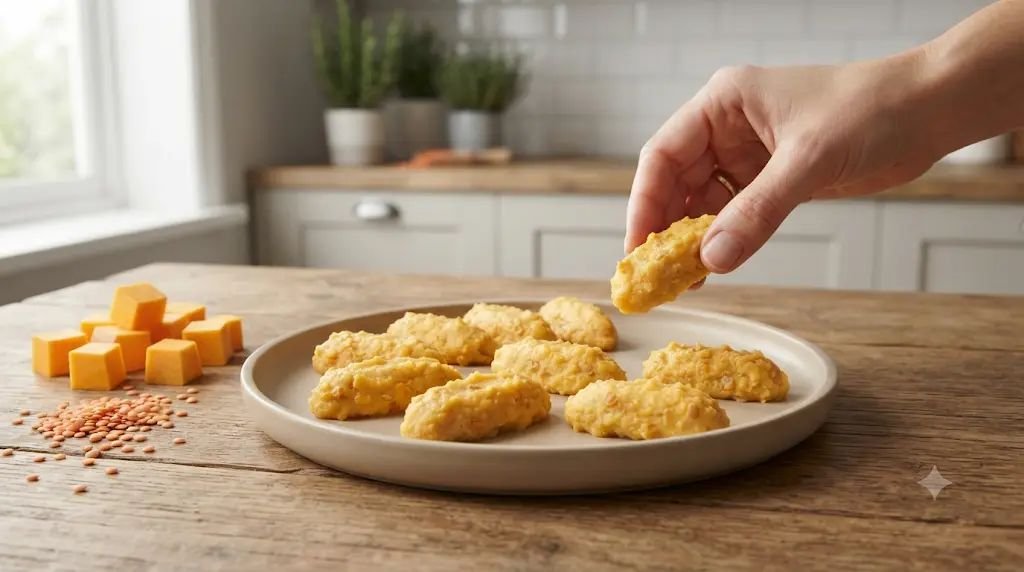
This recipe started as a simple mash, but I found that chilling it slightly made it firm enough to shape into soft finger-sized portions. It became one of my favorite vegetarian meals because it freezes beautifully and is packed with nourishing ingredients.
Health Benefits
Red lentils provide plant-based protein, iron, and fiber, while butternut squash offers vitamin A, vitamin C, and potassium. Together they create a filling meal that supports steady growth and healthy digestion.
Ingredients
- 1 cup peeled butternut squash, diced
- ¼ cup dried red lentils
- 1½ cups water
- 1 teaspoon olive oil
Step-by-Step Recipe
- Rinse the red lentils under cool running water until the water runs mostly clear.
- Add the lentils, diced squash, and water to a saucepan.
- Bring everything to a gentle boil, then reduce the heat and simmer for about 20 minutes until both the lentils and squash are extremely soft.
- Drain any excess liquid if needed.
- Mash everything together until smooth with just a little texture remaining.
- Stir in the olive oil while the mixture is still warm.
- Allow the mash to cool completely, then refrigerate for about 30 minutes so it firms up slightly.
- Scoop and shape into soft finger-length portions before serving.
BLW Serving Tips
- Serve one or two portions at a time.
- Pair with soft avocado slices or plain yogurt.
- If shaping feels difficult, simply serve the mash on a pre-loaded spoon for your baby to pick up independently.
Storage Tips
- Refrigerate for up to 3 days.
- Freeze individual portions for up to 3 months.
- Defrost overnight in the refrigerator and reheat gently before serving.
8. Apple Cinnamon Cottage Cheese Muffins
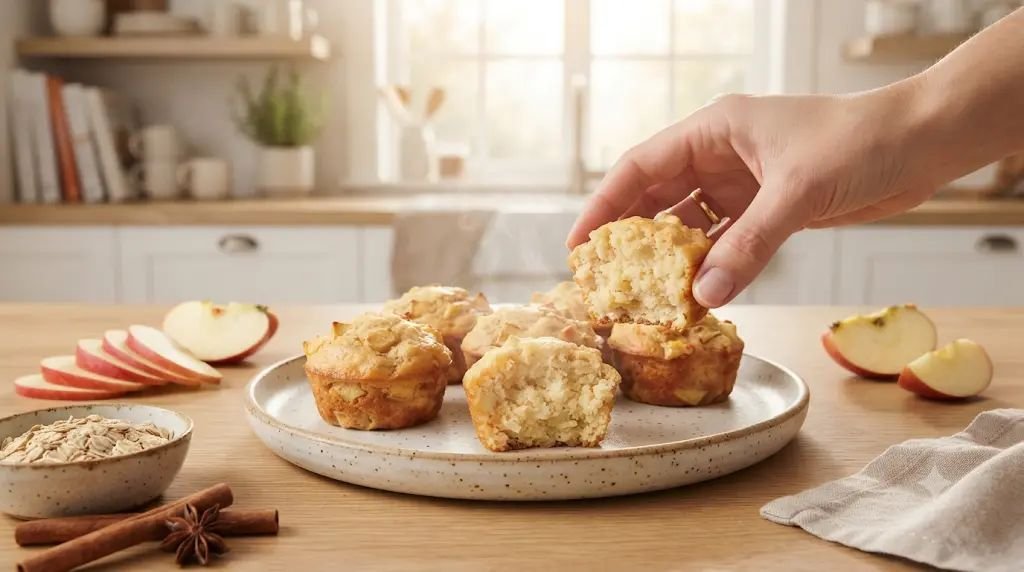
These soft muffins became one of our favorite snacks for outings because they’re easy to pack and stay wonderfully moist. The cottage cheese helps create a tender texture that’s perfect for little gums, while the apple adds gentle sweetness without needing added sugar.
Health Benefits
Apples provide fiber and vitamin C, cottage cheese supplies protein and calcium, and oats contribute slow-release energy and additional fiber. Together they make a satisfying snack that’s easy to prepare ahead of time.
Ingredients
- 1 cup rolled oats
- ½ cup cottage cheese
- 1 small apple, peeled and finely grated
- 1 egg
- 1 teaspoon baking powder
- ¼ teaspoon cinnamon (optional)
Step-by-Step Recipe
- Preheat the oven to 350°F (175°C) and lightly grease a mini muffin pan or line it with silicone liners.
- Blend the oats into a fine flour using a food processor or blender.
- In a mixing bowl, combine the oat flour, baking powder, and cinnamon.
- Stir in the cottage cheese, grated apple, and egg until everything is evenly mixed. The batter should be thick but spoonable.
- Fill each muffin cup about three-quarters full.
- Bake for 18–22 minutes, or until the tops are lightly golden and a toothpick comes out clean.
- Allow the muffins to cool in the pan for several minutes before transferring them to a wire rack.
- Once fully cooled, slice each muffin into halves or quarters if needed so they’re easier for younger babies to grip.
BLW Serving Tips
- Serve half of a mini muffin for younger babies and increase portions as appetite grows.
- Pair with soft fruit slices or plain yogurt.
- These muffins also make an easy breakfast alongside scrambled eggs.
Storage Tips
- Refrigerate in an airtight container for up to 4 days.
- Freeze for up to 3 months.
- Thaw overnight in the refrigerator or warm gently before serving, making sure they’re cool enough for your baby.
9. Soft Zucchini & Carrot Fritters
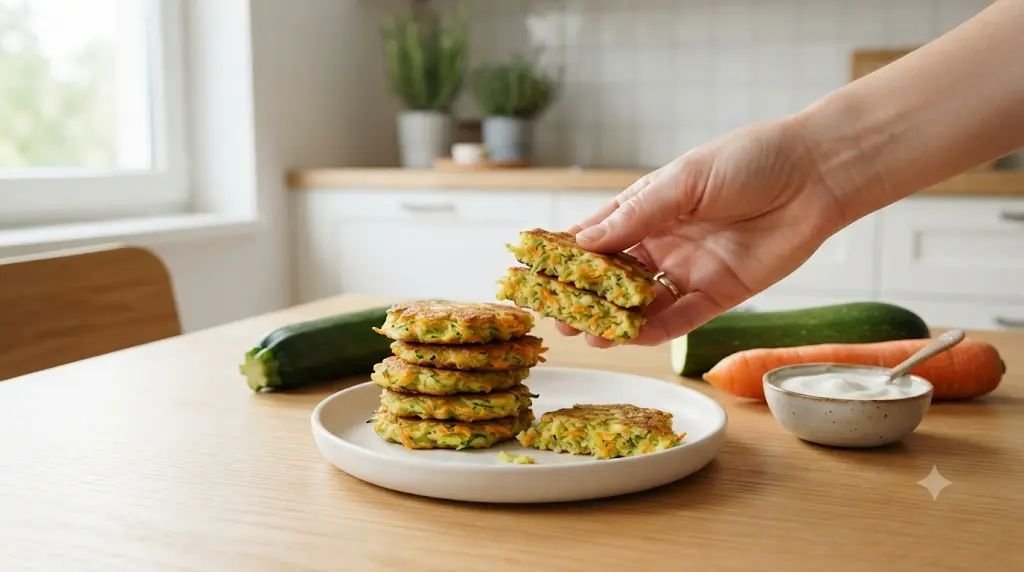
These colorful fritters became one of my favorite ways to use up extra vegetables in the fridge. They stay soft on the inside while holding together well enough for tiny hands to grab. My little one loved pulling them apart piece by piece, which made mealtime feel more like play than work.
Health Benefits
Zucchini provides vitamin C, vitamin A, and hydration thanks to its high water content. Carrots are rich in beta-carotene, which the body turns into vitamin A for healthy eyes and immune support. Eggs and oat flour add protein and fiber to make these fritters more filling.
Ingredients
- 1 small zucchini, grated
- 1 small carrot, peeled and grated
- 1 large egg
- ¼ cup oat flour
- 1 tablespoon finely grated Parmesan cheese (optional, if dairy has been introduced)
- 1 teaspoon olive oil
Step-by-Step Recipe
- Wash the zucchini and carrot thoroughly before grating them.
- Place the grated zucchini in a clean kitchen towel and gently squeeze out as much moisture as possible. This helps the fritters hold together without becoming soggy.
- Combine the zucchini, carrot, egg, oat flour, and Parmesan (if using) in a mixing bowl until evenly mixed.
- Let the mixture sit for about 5 minutes so the oat flour can absorb any remaining moisture.
- Heat the olive oil in a nonstick skillet over medium-low heat.
- Scoop small portions into the pan and gently flatten them into thick fritters.
- Cook for about 3–4 minutes on each side until lightly golden and cooked through. The center should stay soft.
- Transfer to a cooling rack and allow them to cool completely before serving. They should easily break apart when gently pressed with your fingers.
BLW Serving Tips
- Serve one whole fritter so your baby can hold it comfortably.
- Pair with mashed avocado, plain yogurt, or soft roasted vegetables.
- These are great for lunchboxes later on, too, so I often make extra.
Storage Tips
- Refrigerate in an airtight container for up to 3 days.
- Freeze between sheets of parchment paper for up to 2 months.
- Reheat gently in a skillet, oven, or microwave, then cool before serving.
10. Pear & Ricotta French Toast Sticks
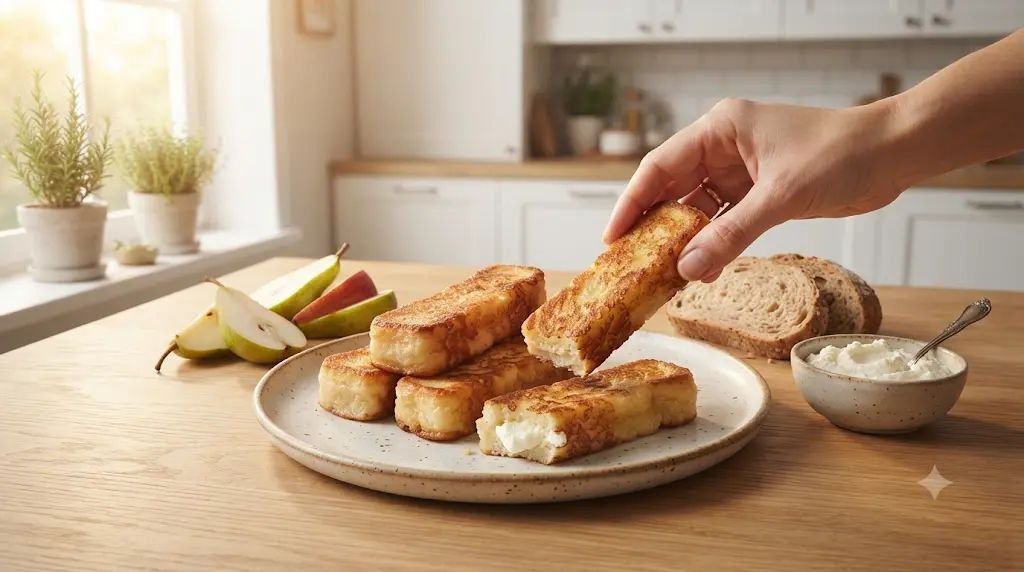
This recipe feels a little special, yet it’s surprisingly simple to make. The bread becomes wonderfully soft inside while still being sturdy enough for little hands to hold. The creamy ricotta and naturally sweet pear make every bite gentle for beginners.
Health Benefits
Whole grain bread provides fiber and energy, ricotta cheese offers calcium and protein, while pears contribute vitamin C and extra fiber that supports healthy digestion.
Ingredients
- 2 slices whole grain bread
- 1 large egg
- 2 tablespoons whole milk (or breast milk/formula if preferred for cooking)
- ¼ cup whole milk ricotta cheese
- ½ ripe pear, finely grated
- 1 teaspoon unsalted butter
Step-by-Step Recipe
- Grate the pear and gently squeeze away excess juice so the filling doesn’t become watery.
- Mix the ricotta and grated pear together until smooth.
- Spread a thin layer of the pear-ricotta mixture onto each slice of bread.
- Whisk the egg with the milk in a shallow bowl.
- Carefully dip both sides of each bread slice into the egg mixture, allowing the bread to soak briefly without becoming overly soft.
- Melt the butter in a nonstick skillet over medium-low heat.
- Cook each slice for about 2–3 minutes per side until lightly golden and fully cooked in the center.
- Let the toast cool for several minutes.
- Slice each piece into thick finger-width sticks that are easy for your baby to grasp.
- Check the temperature before serving. The toast should feel warm or cool, never hot.
BLW Serving Tips
- Offer two or three toast sticks at a time.
- Pair with soft banana slices, mashed berries, or plain yogurt.
- Expect plenty of squishing—that’s part of learning and helps babies explore different textures.
Storage Tips
- Refrigerate for up to 2 days.
- Freeze cooked toast sticks in a single layer for up to 2 months.
- Reheat in a toaster oven or microwave until warmed through, then cool completely before serving.
Conclusion
Starting Baby-Led Weaning can feel exciting, messy, and a little nerve-wracking all at once. I quickly learned that there isn’t a “perfect” first food or a perfect mealtime. Some days my baby eagerly reached for everything on the tray, and other days most of it ended up on the floor. Both are completely normal parts of learning.
These soft BLW recipes are meant to make those first months a little easier while giving your baby plenty of chances to practice self-feeding. Keep meals relaxed, offer a variety of soft foods over time, and don’t worry if favorites change from week to week. Babies often need many opportunities to get comfortable with a new taste or texture.
Most of all, enjoy the little moments. Watching tiny hands learn to grab, squeeze, taste, and explore food is one of the sweetest parts of the first year. Trust your baby’s pace, celebrate the small wins, and remember that every meal is another step toward building confidence with food.